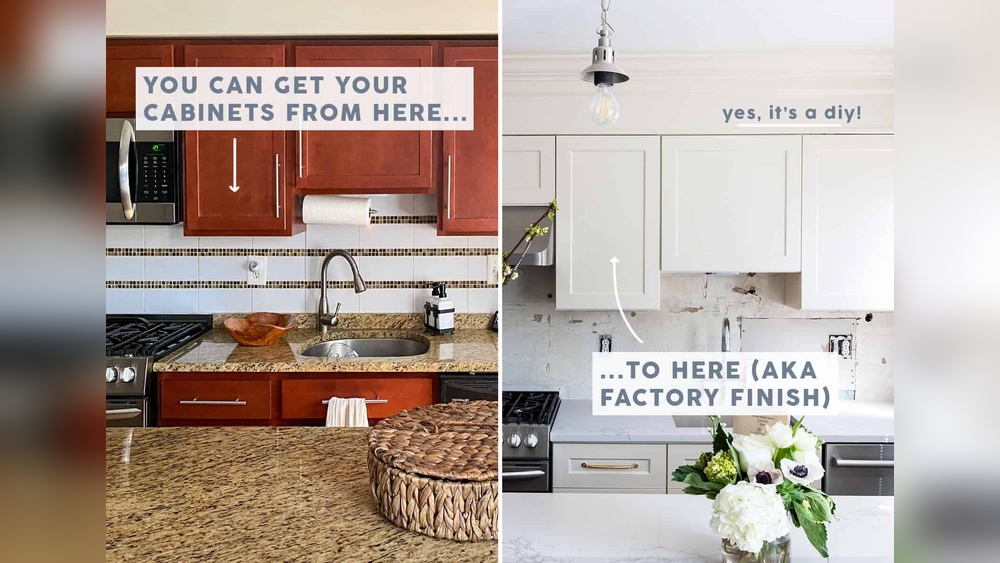
Are your kitchen cabinets looking tired and outdated? Repainting them can give your entire kitchen a fresh, new look without the cost of a full renovation.
But how do you make sure your paint job lasts and looks professional? You might be wondering if you can just slap on some paint or if there’s more to it. The truth is, with the right steps and a bit of patience, you can transform your cabinets into a stylish focal point that you’ll love.
In this guide, you’ll discover exactly how to repaint your kitchen cabinets the easy and effective way—so keep reading and get ready to bring your kitchen back to life!
Materials And Tools
Choosing the right paint is key for cabinet painting. Use acrylic latex paint for durability and easy cleaning. Oil-based paint offers a smooth finish but needs longer drying time.
Primer selection depends on cabinet material. Use a bonding primer for glossy or laminate surfaces. An oil-based primer works well on wood, sealing stains and ensuring better paint adhesion.
Essential tools include paintbrushes for edges, foam rollers for smooth surfaces, and sandpaper for prep work. A putty knife helps fill holes or cracks. Also, keep clean rags and tape handy for clean lines and touch-ups.
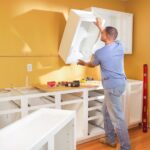
Preparation Steps
Cleaning and degreasing is the first step before painting kitchen cabinets. Use warm water mixed with mild soap to wipe all surfaces. Grease and dirt must be removed completely for paint to stick well. A degreaser can help if the cabinets are very oily.
Sanding techniques create a rough surface for paint to hold. Use fine-grit sandpaper and sand gently. Focus on edges and flat surfaces. Sanding also removes old paint flakes and smooths out imperfections. Always wipe dust away with a damp cloth after sanding.
Repairing cabinet surfaces fixes dents, holes, or cracks. Use wood filler or putty to fill damaged spots. Let it dry fully, then sand smooth. This step ensures the surface is even and ready for painting.
Priming Cabinets
Choosing the right primer is vital for smooth cabinet painting. Use a high-quality, stain-blocking primer made for kitchen surfaces. Oil-based primers work well for wood and glossy surfaces, while bonding primers suit laminate or slick finishes. Avoid skipping primer; it helps paint stick and last longer.
Applying primer correctly means using even, thin coats. Use a good brush or roller to cover all surfaces without drips. Paint in the direction of the wood grain for best results. Avoid thick layers, which can cause peeling or uneven texture.
Drying time tips help avoid mistakes. Let the primer dry fully before sanding or painting. Usually, drying takes 1-4 hours depending on the primer type and room temperature. Cooler or humid rooms need more time. Patience ensures a strong base for your paint.
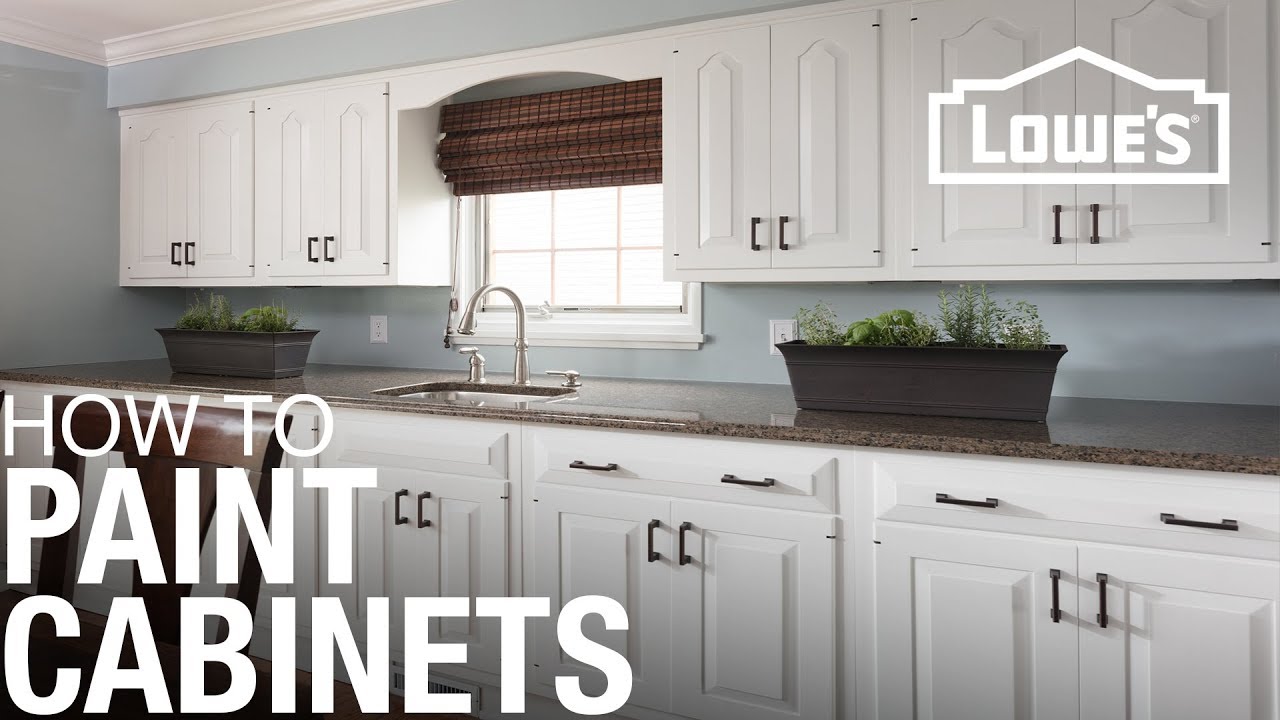
Painting Process
Start by applying the first coat evenly on clean cabinets. Use a quality primer to help paint stick and last longer. Let this coat dry fully before moving on. Thin, smooth layers work best to avoid drips.
The second coat adds depth and covers any missed spots. Check for imperfections and gently sand if needed. Touch-ups help achieve a uniform finish that looks professional.
| Method | Pros | Cons |
|---|---|---|
| Brush | Easy to control, good for edges | May leave brush marks, slower |
| Spray | Smooth finish, faster coverage | Needs more prep, can be messy |
Choosing the right method depends on your comfort and the cabinet style. Brushes suit detailed work. Sprayers cover large areas quickly but need careful setup.
Finishing Touches
Seal the paint with a clear topcoat to protect it from damage. Use a water-based polyurethane for easy cleaning and durability. Allow the sealer to dry fully before using the cabinets.
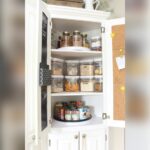
Replacing old hardware with new knobs or handles can refresh the look. Choose styles that match the kitchen’s theme and are easy to install.
Keep cabinets clean by wiping with a soft cloth and mild soap. Avoid harsh chemicals that can damage the paint finish. Regular cleaning helps maintain the fresh look for years.
Special Cabinet Materials
Laminate cabinets have a smooth, non-porous surface. Use a special bonding primer to help paint stick well. Sanding lightly creates a rough surface for better adhesion. Test paint on a small spot first to check results.
Metal cabinets require cleaning to remove grease and dirt. Sand with fine-grit sandpaper to roughen the surface. Use a rust-inhibiting primer before painting. This stops rust and helps paint last longer.
| Step | Purpose | Tips |
|---|---|---|
| Test Paint Adhesion | Check if paint sticks well | Try on a hidden area; wait to dry |
| Clean Surface | Remove grease and dirt | Use mild cleaner and sponge |
| Sand Surface | Create rough texture | Light sanding is enough |
| Apply Primer | Help paint adhere and last | Use primer for laminate or metal |
Common Mistakes To Avoid
Skipping surface preparation leads to poor paint adhesion. Dirt, grease, and old finish must be removed. Sanding lightly creates a rough surface for paint to stick well. Without this step, paint peels quickly.
Using low-quality paint results in uneven color and less durability. Choose paint made for cabinets or furniture. It resists stains and scratches better. Cheap paint fades and chips faster, costing more in the long run.
Rushing drying times causes smudges and uneven finish. Allow each coat to dry fully before applying the next. Patience ensures smooth, long-lasting results. Follow the paint can instructions for drying times.

Time And Cost Estimates
Repainting kitchen cabinets usually takes about 3 to 5 days.
This includes cleaning, sanding, priming, and painting. Drying time matters too.
Small kitchens may take less time, while bigger ones need more.
| Item | Estimated Cost (USD) |
|---|---|
| Primer | $15 – $30 |
| Paint | $20 – $50 |
| Sandpaper and Supplies | $10 – $25 |
| Brushes and Rollers | $10 – $30 |
Expect to spend $55 to $135 on supplies for a typical job.
Costs vary by quality and brand of materials chosen.
Setting a budget helps avoid surprises during the project.
Tips For A Stunning Makeover
Choosing the right color is key to a kitchen cabinet makeover. Light colors like white or cream make the space feel larger and brighter. Dark colors add depth and a modern touch. Soft pastels bring a calm and fresh look. Consider your kitchen’s lighting and overall style when picking colors.
Current design trends include matte finishes for a sleek, modern feel. Shaker-style cabinets remain popular for their clean and simple lines. Two-tone cabinets, where upper and lower sections differ in color, add visual interest. Mixing textures, like wood grain with painted surfaces, also enhances style.
To enhance kitchen style, pair cabinet colors with matching hardware. Brass or matte black handles create contrast. Open shelving can break cabinet monotony and display decor. A fresh cabinet paint job can uplift the whole kitchen’s appearance without a full renovation.
Frequently Asked Questions
Can I Just Paint Over My Kitchen Cabinets?
Yes, you can paint over kitchen cabinets. Clean, sand lightly, and apply a quality primer for proper paint adhesion and durability.
Can I Just Paint Over Already Painted Cabinets?
Yes, you can paint over painted cabinets. Clean, sand lightly, and apply a quality primer for proper adhesion. Use durable paint for best results.
Can I Repaint My Kitchen Cabinets Myself?
Yes, you can repaint kitchen cabinets yourself. Proper cleaning, sanding, priming, and using durable paint ensures lasting results.
Can I Just Paint Over My Kitchen Cabinets Without Sanding?
You can paint over kitchen cabinets without sanding, but light sanding improves paint adhesion and durability. Clean cabinets well first. Use a quality primer for best results. Skipping sanding may cause peeling or uneven finish. Proper prep ensures a long-lasting, smooth paint job.
Conclusion
Repainting kitchen cabinets can refresh your entire kitchen look. Follow each step carefully for the best results. Clean, sand, prime, and paint with quality products. Take your time to ensure smooth, even coats. The right preparation helps your paint last longer.
Enjoy your updated kitchen without a full remodel. Small changes can make a big difference in style. This project saves money and adds personal charm. Start today and transform your cabinets with confidence.

Yes, working as , Food Blogger and Product Reviewer for last 6 years. Here you will get amazing deals for Smart kitchen products. I am your best source for the latest update in cooking trends. I provide insightful articles, reviews, and analysis on cutting-edge kitchen gadget. My mission is to empower readers with the knowledge they need to stay ahead in a rapidly evolving coking world. Join me as we explore the future of food technology and how it shapes our lives today and tomorrow.