
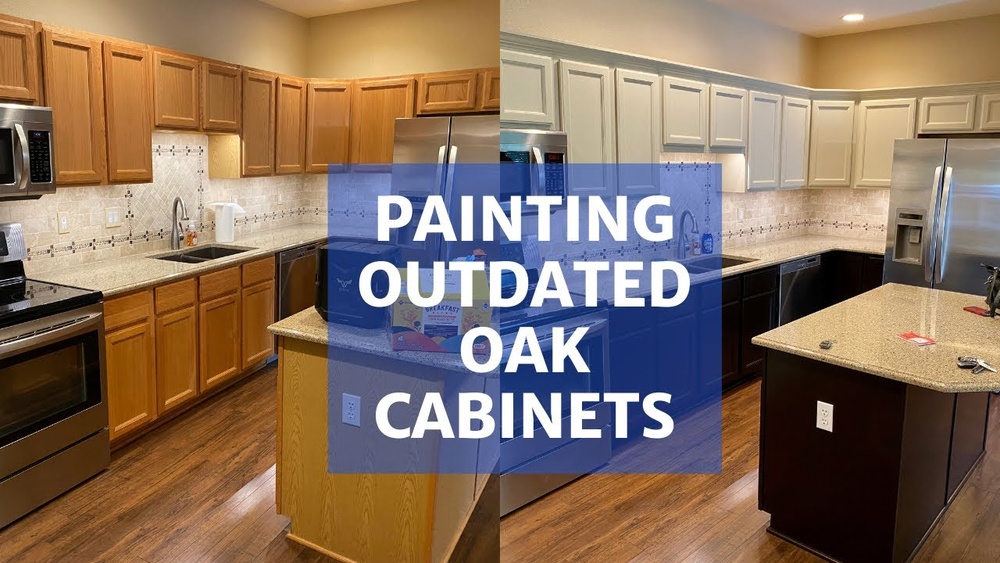
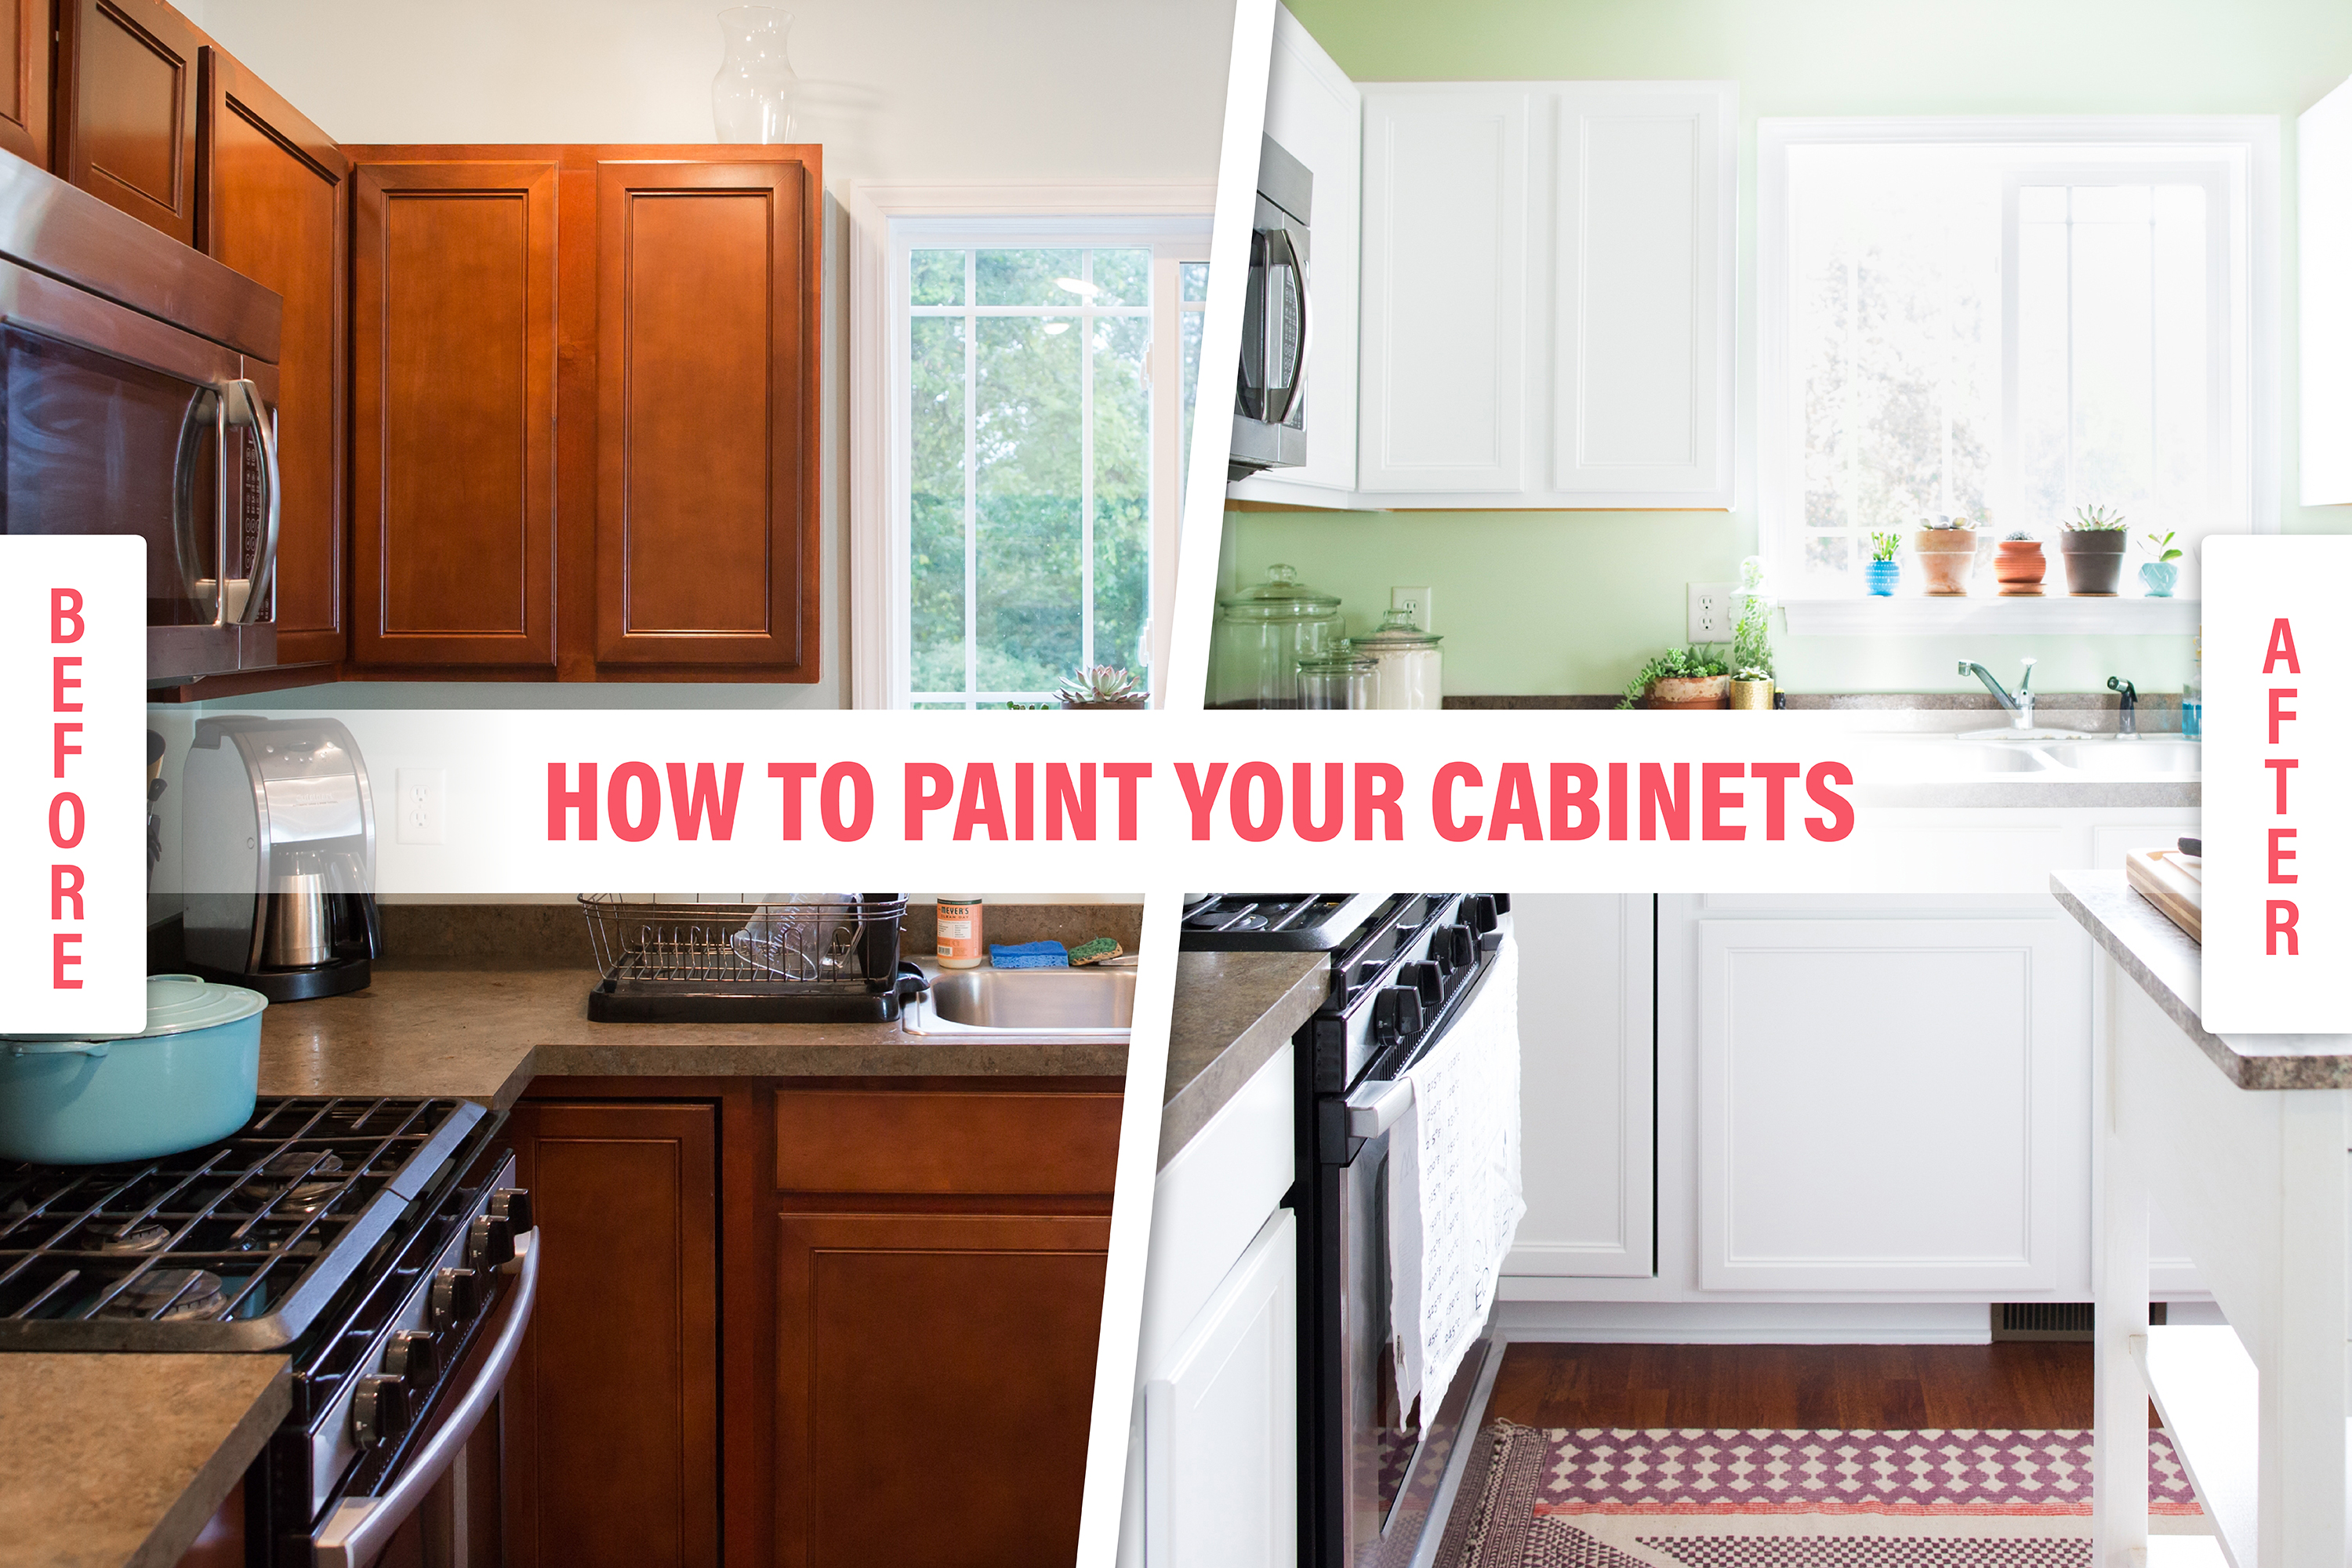
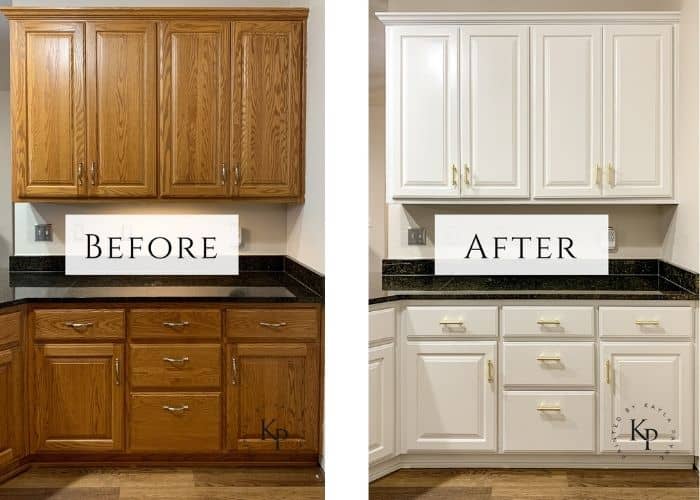
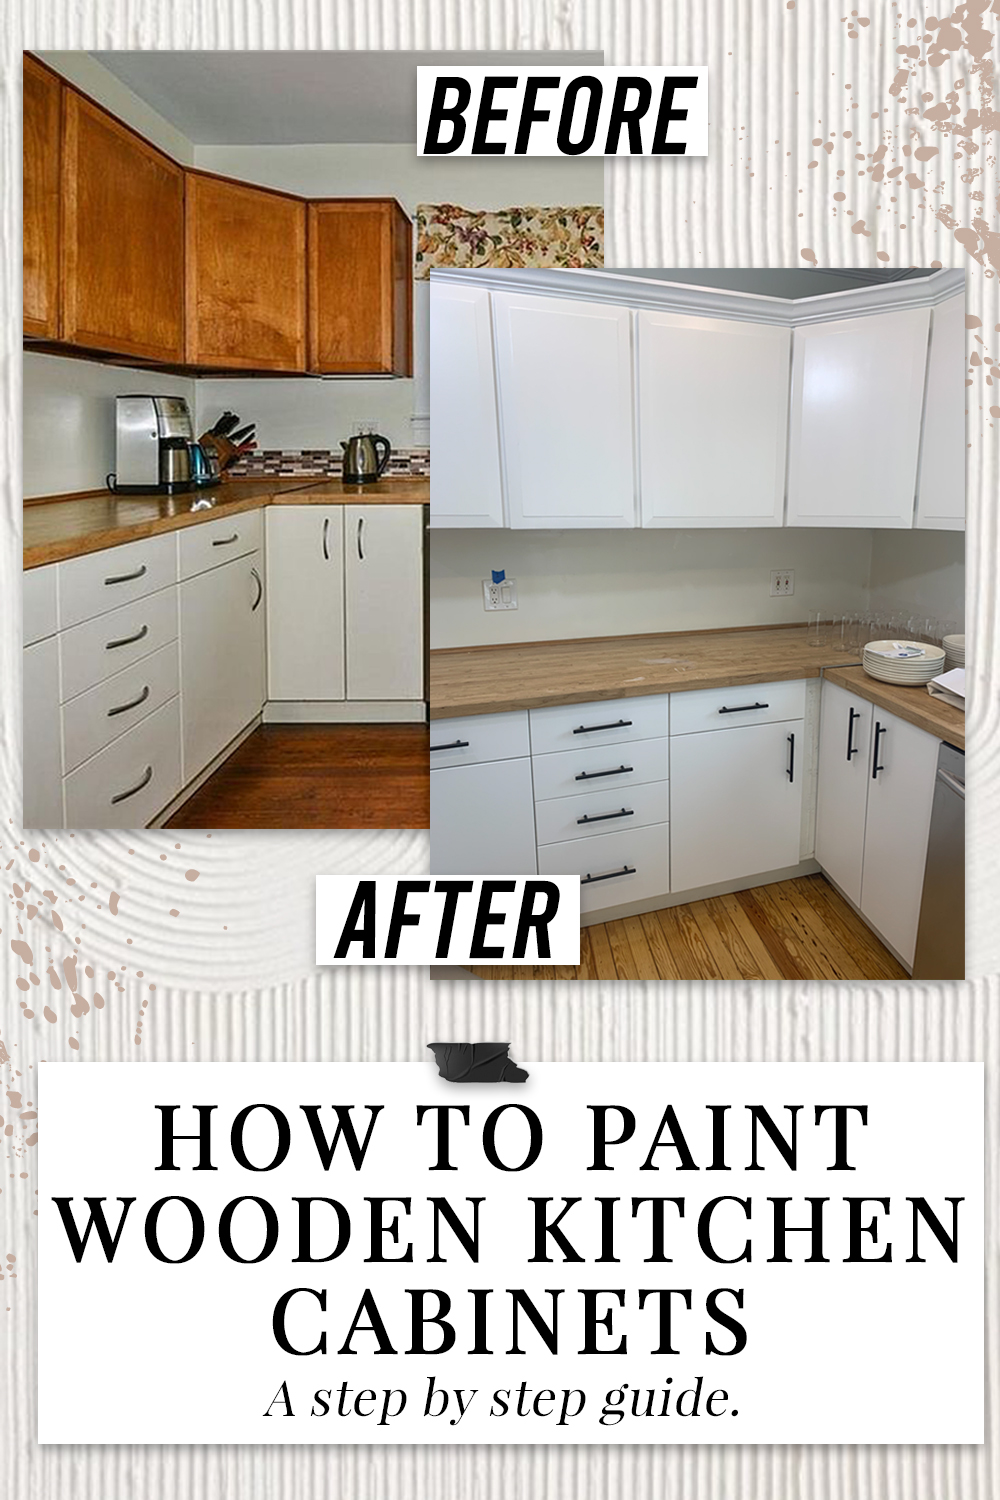
Are your wood kitchen cabinets looking tired or outdated? Painting them yourself can give your kitchen a fresh, stylish look without the high cost of replacement.
But how do you paint wood cabinets the right way so the finish lasts and looks professional? You’re about to discover simple, step-by-step tips that make the whole process easier than you think. From prepping your cabinets to choosing the best paint and applying it smoothly—you’ll learn exactly what to do to transform your kitchen.
Ready to give your cabinets a stunning makeover that you’ll be proud of? Keep reading and let’s get started!
Gather Materials
Choose a paint type suitable for kitchen cabinets. Water-based paints dry faster and have less odor. Oil-based paints offer a smoother finish but take longer to dry. Semi-gloss or satin finishes are best because they resist moisture and stains.
Select brushes and rollers that fit your cabinet size. Use a high-quality angled brush for edges and details. Foam rollers work well on flat surfaces to avoid brush marks.
Get a primer and sandpaper for good paint adhesion. Use a bonding primer designed for wood. Sand the cabinets lightly with fine-grit sandpaper to smooth rough spots and help the primer stick better.
Remove Cabinets
Start by carefully removing the cabinet doors and drawers. Use a screwdriver to take off all hinges and screws. Keep all screws and hardware in a safe place. This step makes painting easier and prevents damage to hardware.
Next, remove the hardware like knobs and handles from each door and drawer. This allows a smooth painting surface without bumps. Label each door and drawer to remember their original spots. This helps when reassembling later.
Clean Surfaces
Eliminate all dirt and grease before painting. Use a mild detergent mixed with warm water. Wipe down the cabinets with a soft cloth or sponge. Pay close attention to areas near handles and edges where grease builds up. Rinse the surface with clean water to remove any soap residue.
Dry the cabinets completely with a clean cloth. Avoid leaving moisture on the wood as it affects paint adhesion. Check for any stubborn spots and repeat cleaning if needed. A clean surface ensures the paint sticks well and lasts longer.
Prep Cabinets
Scuff sanding is key to help paint stick well. Use fine-grit sandpaper to gently roughen the cabinet surfaces. This removes old finish and smooths out any imperfections. Sand every spot you plan to paint. Take your time for best results.
Dust removal must be done carefully after sanding. Use a soft cloth or vacuum to clear all dust and debris. Even tiny dust particles can cause paint to look rough or peel later. Make sure cabinets are completely clean and dry before painting.
Apply Primer
Use a brush to carefully apply primer on cabinet edges. This helps cover corners and detailed areas well. For flat surfaces, a roller works best. It spreads primer evenly and quickly. Avoid thick layers to prevent drips.
Let the primer dry fully before painting. Drying time usually takes around 1-2 hours but check the primer label for exact info. Proper drying ensures better paint adhesion and a smooth finish. Rushing this step can cause peeling later.
Paint Cabinets
Start by applying the first coat of paint evenly with a brush or roller. Use smooth strokes to avoid drips and streaks. Let the paint dry fully before moving on.
Sanding between coats is very important. Use fine-grit sandpaper to gently sand the surface. This step helps the next coat stick better and gives a smooth finish. Wipe off the dust with a clean cloth.
Apply the second coat carefully, just like the first. This coat will cover any thin spots and make the color richer. Allow the paint to dry well before using the cabinets.
Finish Up
Let the paint dry completely before touching the cabinets. This usually takes 24 hours to ensure the finish is hard and durable.
Carefully reattach all hardware like handles and knobs using a screwdriver. Check if any screws need tightening or replacing.
Finally, remount the doors and drawers onto the cabinet frames. Align them properly to avoid gaps or uneven spacing.
Test all doors and drawers to make sure they open and close smoothly. Adjust hinges if needed for a perfect fit.
Maintenance Tips
To keep painted cabinets looking fresh, clean them often. Use a soft cloth with warm water and mild soap. Avoid harsh cleaners that can damage the paint. Wipe spills quickly to stop stains.
Touch-ups are easy with a small brush. Match the original paint color exactly. Lightly sand the chipped area before painting. Apply thin coats and let each dry well. This keeps cabinets smooth and neat.
Frequently Asked Questions
Can You Just Paint Over Wood Cabinets?
Yes, you can paint wood cabinets by properly cleaning, sanding, priming, and using durable paint. Preparation ensures lasting results.
Is Painting Wood Kitchen Cabinets A Good Idea?
Painting wood kitchen cabinets is a good idea. It refreshes appearance, saves money, and allows color customization. Proper prep ensures durability.
Is It Better To Brush Or Roll Paint On Kitchen Cabinets?
Rolling paint on kitchen cabinet surfaces ensures smooth, even coverage quickly. Brushing works best for edges and detailed areas. Combining both methods delivers a professional finish and reduces brush marks. Use a brush for corners and a roller for flat surfaces for optimal results.
Can I Paint My Wood Cabinets Without Sanding?
Yes, you can paint wood cabinets without sanding by using a high-quality primer and cleaning thoroughly. Scuff sanding improves paint adhesion for durability.
Conclusion
Painting wood kitchen cabinets can refresh your entire kitchen look. Start by removing doors and cleaning surfaces well. Sanding and priming ensure paint sticks properly. Choose quality paint with a smooth finish. Apply paint in thin, even coats for best results.
Let each layer dry fully before the next. Take time for careful prep to avoid peeling or chipping. Patience and attention bring a neat, lasting finish. Your kitchen will look brighter and feel new. Enjoy the satisfaction of a DIY project done right!

Yes, working as , Food Blogger and Product Reviewer for last 6 years. Here you will get amazing deals for Smart kitchen products. I am your best source for the latest update in cooking trends. I provide insightful articles, reviews, and analysis on cutting-edge kitchen gadget. My mission is to empower readers with the knowledge they need to stay ahead in a rapidly evolving coking world. Join me as we explore the future of food technology and how it shapes our lives today and tomorrow.