
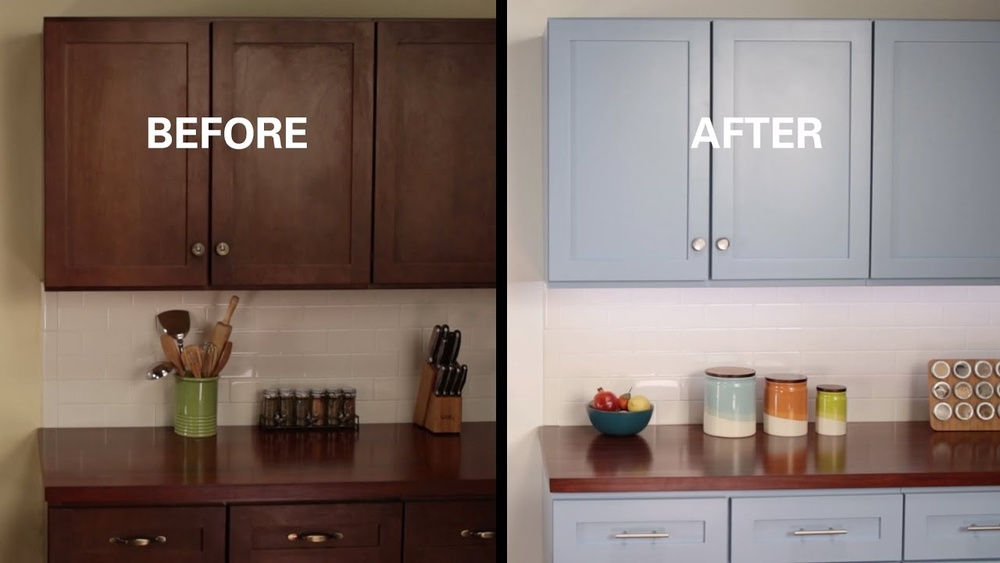
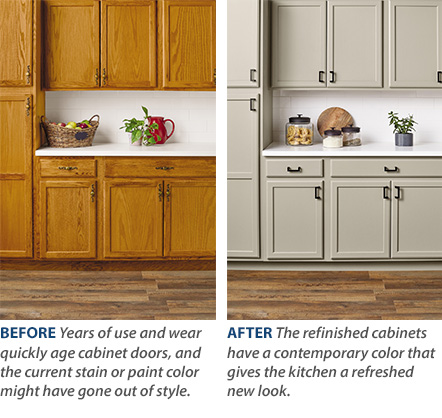
Are your kitchen cabinets looking tired and outdated? You don’t have to spend a fortune on a full remodel to give your kitchen a fresh new look.
Refinishing your cabinets is a smart, budget-friendly way to transform your space—and you can do it yourself! Whether you want to brighten up your kitchen with a sleek paint job or bring out the natural beauty of the wood with a rich stain, this guide will walk you through every step.
By the end, you’ll have the confidence and know-how to tackle this project and enjoy stunning cabinets that look like new. Ready to get started? Let’s dive into how to refinish kitchen cabinets the right way.
Tools And Materials Needed
Essential supplies include sandpaper, primer, paint or stain, brushes, and rags. Use cleaning solution to remove grease and dirt from cabinets before refinishing.
Power tools like an electric sander or drill with sanding attachments make the job faster. A paint sprayer can give a smooth finish but is optional.
Workspace setup means a well-ventilated area with good light. Lay down drop cloths to protect floors. Organize tools and materials for easy reach to work efficiently.
Preparing Cabinets For Refinishing
Start by carefully removing cabinet doors and hardware. Use a screwdriver to take off all knobs, handles, and hinges. Keep these parts in a safe place to avoid losing them.
Next, clean all surfaces well. Use a degreaser or mild soap with water to remove grease and dirt. This step is key for the new finish to stick properly.
Check for any damages like scratches, dents, or holes. Fill small holes with wood filler and let it dry. Sand the filled spots smooth to match the surface. This makes cabinets look neat and ready for refinishing.
Choosing Between Paint And Stain
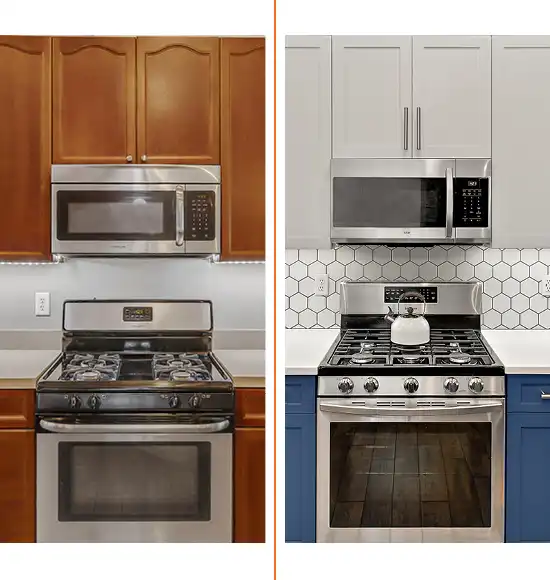
Painting kitchen cabinets gives a fresh, modern look. It hides old stains and scratches well. Paint works great on MDF and smooth surfaces. It offers many color choices, so you can match any kitchen style. Paint creates a smooth, uniform finish that brightens the room. Cleaning painted cabinets is simple with mild soap and water. Painting also covers imperfections better than stain.
Staining shows off the wood’s natural beauty. It lets the grain and texture shine through for a warm, classic feel. Stain works best on solid wood cabinets. It is less likely to peel or chip than paint. Staining needs a smooth, sanded surface and careful application. It has fewer color options but adds rich, deep tones to wood.
| Material | Best Finish |
|---|---|
| MDF or Smooth Surfaces | Paint |
| Solid Wood | Stain |
Stripping Old Finish Or Not
Strip old finish if cabinets have many layers or damage. Stripping helps paint or stain stick better. If the finish is smooth and in good shape, sanding might be enough. Stripping takes time and needs chemicals or heat.
When To Strip
Strip if the finish is peeling or cracked. Also strip if changing from dark to light colors. If just refreshing the look, sanding can work well. Newer finishes often need less stripping.
Alternatives To Stripping
- Sanding smooths surface without removing all finish.
- Liquid deglosser cleans and roughens surface for paint.
- Bonding primer helps paint stick to old finish.
Safety Tips
- Wear gloves and mask when using chemicals.
- Work in a well-ventilated area.
- Keep kids and pets away during refinishing.
- Follow instructions on all products used.
Sanding Techniques
Sanding for paint requires a smooth, even surface. Use fine-grit sandpaper (around 220 grit). Sand lightly to remove old finish and create a surface paint can stick to. Avoid sanding too hard; it can damage the wood or MDF.
Sanding for stain needs more care. Use medium-grit sandpaper (around 150 grit) first. This opens the wood grain to absorb stain well. Finish with fine-grit sandpaper to smooth the surface. Sand along the wood grain to avoid scratches.
Avoid common mistakes like sanding too much in one spot. This can make uneven areas. Don’t skip cleaning dust after sanding; it stops paint or stain from sticking. Always test sand a small hidden area first to check results.
Applying Primer And Paint
Choosing the right primer is key for long-lasting paint. Use a high-quality bonding primer for glossy or laminate surfaces. Oil-based primers work well on wood and prevent stains. For water-based paints, use a latex primer to ensure good adhesion.
For a smooth finish, sand cabinets lightly before painting. Apply paint with a high-density foam roller to avoid brush marks. Use thin coats, and allow each coat to dry fully before adding another.
| Number of Coats | Purpose | Dry Time |
|---|---|---|
| 1 | Primer coat to seal and prepare surface | 2-4 hours |
| 2-3 | Paint coats for full coverage and durability | 4-6 hours each |
Staining And Sealing Cabinets
Choosing the right stain color is key to match your kitchen style. Test stain samples on a hidden cabinet spot to see the true color. Pick a color that highlights the wood’s natural beauty.
Apply stain with a clean cloth or brush. Work in small sections and move with the wood grain. Wipe off extra stain quickly to avoid blotches. Even application prevents dark or light patches.
Sealing the cabinets protects the wood and stain. Use a clear polyurethane or varnish. Apply thin coats and let each dry fully before adding the next. This makes cabinets more durable and easier to clean.
Drying And Curing Time
Drying time is very important after applying paint or stain on cabinets. Usually, it takes about 24 hours for the first layer to dry. For best results, wait at least 48 hours before touching the surface. This time allows the finish to harden properly and avoid smudges or damage.
Avoid placing objects on the cabinets during drying. Keep the room well ventilated and dust-free. Try not to close doors or drawers too soon, as this can cause sticking or marks.
| Finish Type | Recommended Drying Time | Curing Time |
|---|---|---|
| Paint | 24-48 hours | 7-14 days |
| Stain | 24 hours | 7 days |
| Polyurethane | 24 hours | 30 days |
Patience is key. Rushing can ruin your hard work. Let the finish cure fully before heavy use.
Reassembling Cabinets
Reattaching doors and hardware requires care. Use the original screws to fix hinges and knobs. Check that each door fits well in its frame. Avoid forcing parts to prevent damage.
Adjusting hinges ensures doors open and close smoothly. Turn hinge screws slowly to align doors evenly. Test doors by opening and closing several times. Proper alignment prevents rubbing or gaps.
Final touches include cleaning smudges and dust from the cabinets. Use a soft cloth to wipe surfaces gently. Inspect for any missed spots or loose hardware. Your cabinets should look fresh and ready to use.
Maintenance Tips For Longevity
Cleaning painted cabinets requires gentle care to keep the paint fresh. Use a soft cloth with mild soap and warm water. Avoid harsh cleaners or scrubbing pads that can damage the paint. Wipe spills quickly to prevent stains. Regular dusting helps maintain the finish.
Caring for stained surfaces means protecting the wood’s natural beauty. Clean with a damp cloth and wood-safe cleaner. Avoid soaking the wood or using abrasive tools. Apply a wood conditioner or polish occasionally to keep the surface smooth and shiny.
Touch-up techniques help fix small scratches or chips. Use matching paint or stain for repairs. Lightly sand the area before applying touch-up. Apply thin coats and let dry fully. This keeps cabinets looking new longer and avoids costly replacements.
Frequently Asked Questions
Can You Refinish Kitchen Cabinets Yourself?
Yes, you can refinish kitchen cabinets yourself using basic supplies and tools. It requires sanding, cleaning, and applying paint or stain carefully. Refinishing saves cost and allows customization but demands time and patience for good results.
Is It Better To Paint Or Restain Kitchen Cabinets?
Painting kitchen cabinets offers a modern, customizable look with many color options. Restaining highlights natural wood grain and provides a classic, durable finish. Choose painting for versatility and restaining for warmth and wood beauty.
Can I Restain Kitchen Cabinets Without Sanding?
Yes, you can restain kitchen cabinets without sanding by using a liquid deglosser. It cleans and prepares the surface for staining. This method works best if the old finish is in good condition and not peeling.
Is It Worth It To Resurface Kitchen Cabinets?
Resurfacing kitchen cabinets saves money compared to replacement and refreshes your kitchen’s look. It suits cabinets in good structural condition. This process improves appearance with minimal disruption and adds value. Choose resurfacing to update style without the cost of new cabinets.
Conclusion
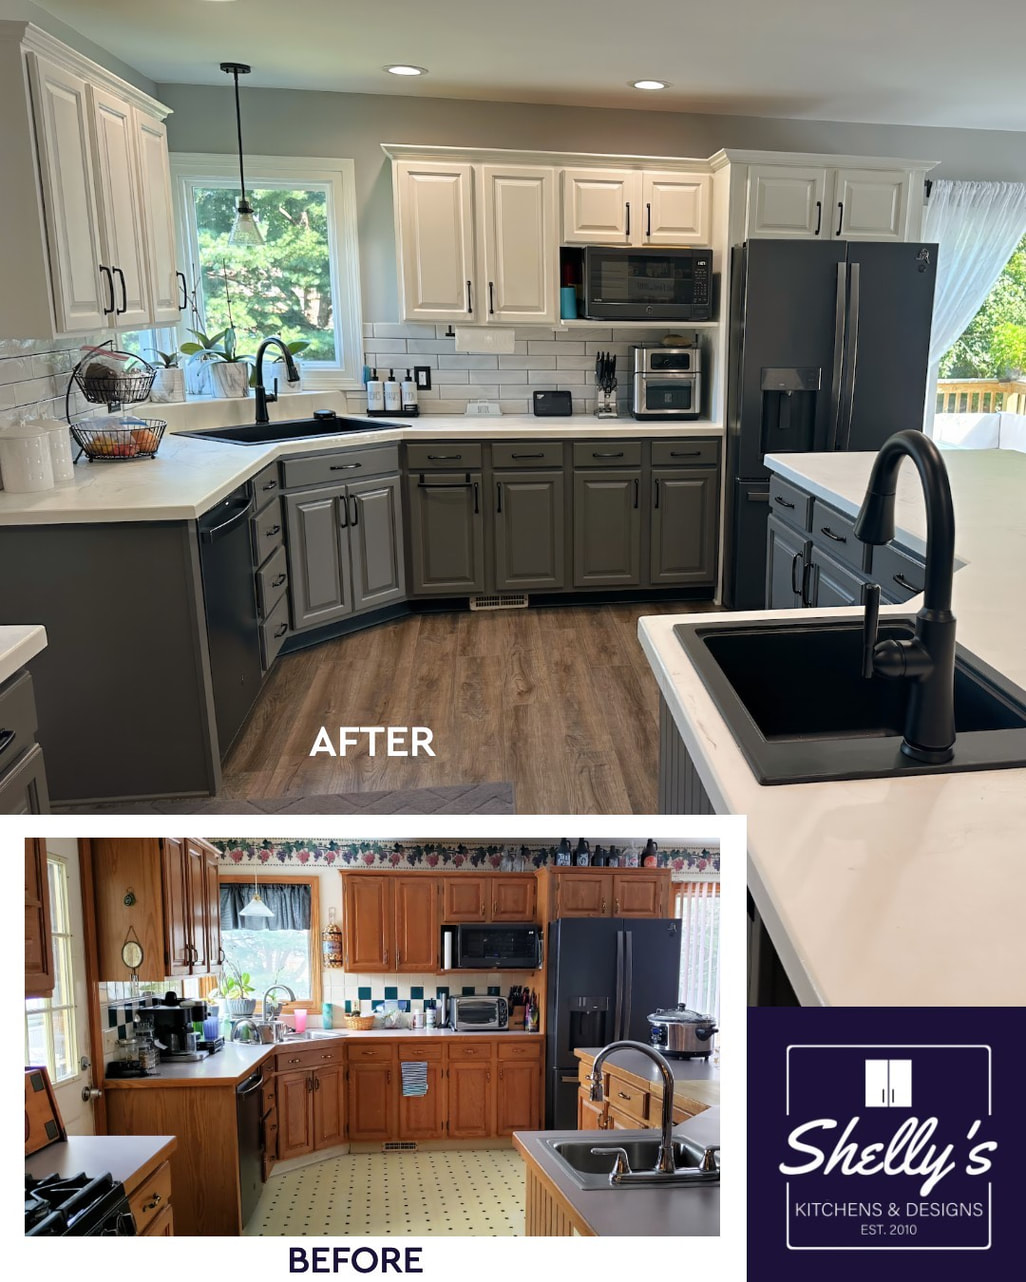
Refinishing kitchen cabinets can refresh your entire space. Taking time to sand, clean, and paint or stain is key. Choose paint for a modern look or stain to show wood grain. Work step-by-step, and stay patient throughout the process. Your effort will bring new life to old cabinets.
Enjoy a beautiful kitchen without a full remodel. This project saves money and gives your home a fresh feel. Start small, and build your skills with each cabinet. Happy refinishing!

Yes, working as , Food Blogger and Product Reviewer for last 6 years. Here you will get amazing deals for Smart kitchen products. I am your best source for the latest update in cooking trends. I provide insightful articles, reviews, and analysis on cutting-edge kitchen gadget. My mission is to empower readers with the knowledge they need to stay ahead in a rapidly evolving coking world. Join me as we explore the future of food technology and how it shapes our lives today and tomorrow.