
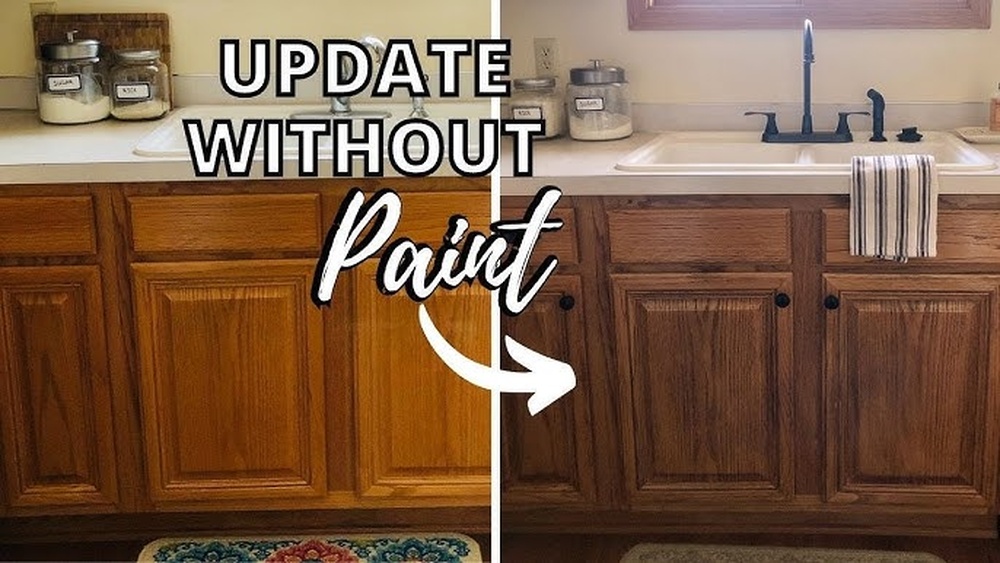
Are your kitchen cabinets looking tired or outdated? Restaining them can breathe new life into your kitchen without the hassle and cost of a full replacement.
But how do you restain kitchen cabinets the right way to get that fresh, beautiful finish you want? Whether you’re aiming for a richer, darker tone or a lighter, more modern look, this guide will walk you through every step.
You’ll learn how to prep your cabinets, choose the right stain, and apply it like a pro—so your kitchen can shine again. Ready to transform your cabinets and impress everyone who walks in? Let’s dive in!
Preparation Steps
Start by cleaning the cabinets thoroughly. Use a mild soap and warm water to remove grease, dirt, and grime. Let them dry completely before moving on.
Next, remove all hardware like knobs, handles, and hinges. This step prevents damage and gives full access to the wood surface. Keep the hardware in a safe place to reuse later.
For sanding techniques, use medium-grit sandpaper to smooth the wood and remove the old finish. Sand evenly to avoid rough spots. Finish with fine-grit sandpaper for a smooth surface. Always sand in the direction of the wood grain to prevent scratches.
Choosing The Right Stain
Gel stains are thicker and sit on the surface of the wood. They give even color and cover old stains well. Traditional stains soak into the wood and show the grain more. They can be harder to control on cabinets with many details.
Pick a stain based on the wood type and desired look. Gel stains work best on cabinets because they hide flaws and offer a smooth finish. Traditional stains are good if you want a natural wood look and have smooth surfaces.
| Type of Stain | Best For | Key Feature |
|---|---|---|
| Gel Stain | Older cabinets, detailed wood | Sits on surface, even color |
| Traditional Stain | New wood, smooth surfaces | Soaks into wood, shows grain |
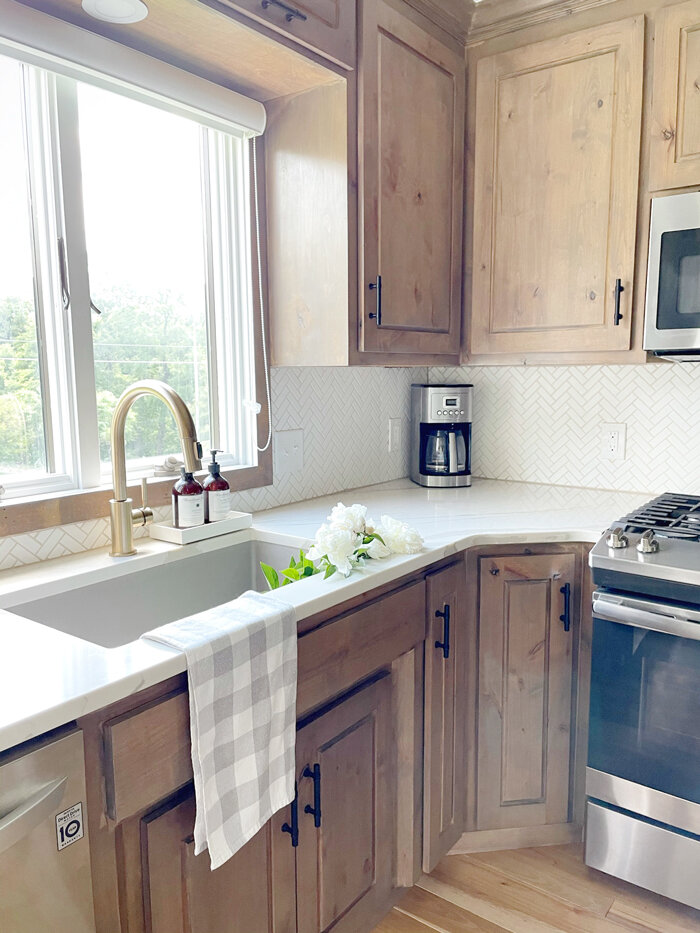
Choose colors that match your kitchen style. Darker stains hide flaws but make spaces feel smaller. Lighter stains open up the room and highlight wood grain. Test a small spot before staining the whole cabinet.
Restaining Over Existing Stains
Restaining kitchen cabinets over an existing stain is possible. To go darker without stripping, clean the cabinets well. Remove grease and dirt, then lightly sand to help the new stain stick. There is no need to remove the old stain completely for darkening.
Gel stains work best for covering old finishes. They stay on top instead of soaking in. This gives a more even color and better coverage than regular stains. Use a brush or cloth to apply gel stain evenly.
Stripping cabinets completely is needed only when you want to lighten the wood color. This means using a chemical stripper or heavy sanding to remove all old finishes. Lightening is not possible by just applying a new stain over the old one.
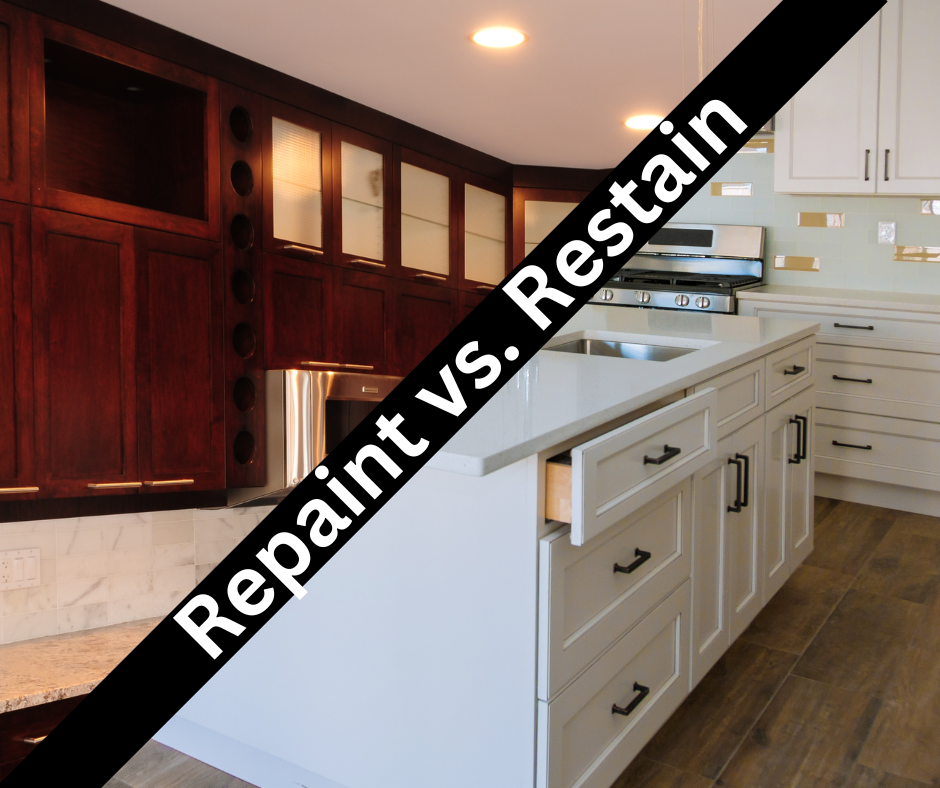
Stripping And Lightening Cabinets
Chemical strippers help remove old finishes quickly. Apply the stripper evenly and wait as per instructions. Use a scraper gently to lift old paint or stain. Wear gloves and work in a ventilated area for safety.
Heavy sanding removes old finishes if chemical strippers are not preferred. Start with coarse sandpaper, then switch to finer grit for smoothness. Sand along the wood grain to avoid scratches. This method can be dusty and needs patience.
Prepping bare wood before staining is key. Clean the surface to remove dust and residue. Use a wood conditioner to help stain absorb evenly. Let the conditioner dry fully before applying stain for best results.
Applying Stain
Apply stain evenly using a clean cloth or brush. Work with the wood grain for a natural look. Avoid thick layers to prevent blotches. Spread stain in thin coats and wipe off extra quickly.
Let the stain dry completely before adding more. Drying times vary from 4 to 24 hours based on product and weather. Applying multiple coats deepens color but wait between coats to avoid sticky finish.
| Common Staining Mistakes | How to Avoid |
|---|---|
| Uneven stain application | Use smooth, steady strokes and follow the grain |
| Not wiping off excess stain | Wipe quickly after applying to prevent blotches |
| Applying too many coats too fast | Allow full drying before next coat |
| Skipping sanding before staining | Lightly sand to help stain stick |
Sealing And Finishing
Choose a topcoat that matches cabinet use and style. Polyurethane offers strong protection for busy kitchens. Water-based finishes dry fast and keep color clear. Oil-based finishes add warmth but take longer to dry.
Apply protective finishes in thin, even layers. Use a brush or cloth to avoid streaks. Let each coat dry fully before adding the next. Sand lightly between coats for smoothness.
Keep cabinets clean with a soft cloth and mild soap. Avoid harsh chemicals that damage the finish. Wipe spills quickly to prevent stains. Regular maintenance helps the finish last longer and keeps cabinets looking fresh.
Troubleshooting Common Issues
Uneven stain often happens when wood absorbs stain differently. Lightly sanding the surface helps even out absorption. Apply stain in thin, consistent coats for a uniform finish. Use a brush or cloth to spread stain smoothly.
Stain blotches appear if stain pools or dries unevenly. Wipe excess stain quickly with a clean cloth. Sand blotches gently and restain that area carefully. Avoid applying too much stain at once to prevent blotches.
Repairing damage before restaining is key. Fill scratches or dents with wood filler. Let it dry fully, then sand smooth. Clean the surface well to remove dust and grease. A smooth surface ensures better stain results and a lasting finish.
Tools And Materials Checklist
Gathering the right tools and materials is key for restaining kitchen cabinets. Essential supplies include sandpaper (medium and fine grit), stain, brushes, and clean cloths. Use gel stains for easier application and better coverage.
Recommended brands like Minwax, General Finishes, and Varathane offer reliable stains and finishes. These brands provide good color options and durability.
| Item | Purpose | Recommended Brands |
|---|---|---|
| Sandpaper | Prepares surface for stain | 3M, Norton |
| Wood Stain | Colors the wood | Minwax, General Finishes, Varathane |
| Brushes | Apply stain and finish | Wooster, Purdy |
| Clean Cloths | Wipe excess stain | Any lint-free cloth |
Safety gear is crucial. Use gloves to protect skin and masks to avoid inhaling fumes. Eye protection keeps you safe from splashes. Working in a well-ventilated area reduces health risks.
Expert Tips And Tricks
Maximizing wood grain visibility helps bring natural beauty to your cabinets. Use a light sanding to remove old finish gently without hiding grain. Choose a transparent or semi-transparent stain for better wood patterns. Test stain on a small spot first to see the effect. Avoid thick layers that can cover the grain.
Saving time during the process is easy with proper tools. Use a gel stain, which dries faster and covers well. Work in small sections to prevent uneven drying. Clean brushes right after use to keep them ready. Skip stripping if you want a quicker job; just sand lightly.
Avoiding pitfalls for a professional look means careful prep work. Remove all grease and dirt before staining. Use even strokes and wipe off excess stain quickly. Let each coat dry fully to prevent blotches. Protect your stained cabinets with a clear topcoat for durability.

Frequently Asked Questions
Can You Restain Cabinets That Are Already Stained?
Yes, you can restain already stained cabinets. Lightly sand and clean before applying darker stain. For lighter colors, fully strip old finish first. Always finish with a protective top coat to ensure durability and a smooth appearance.
Can I Restain My Cabinets Without Sanding?
Yes, you can restain cabinets without sanding by using gel stain over a clean, grease-free surface. Light sanding helps adhesion but isn’t always required. For lighter colors, remove the old finish completely before restaining. Always finish with a protective clear coat for durability.
What Is The Best Way To Restain Kitchen Cabinets?
Clean and lightly sand cabinets to remove grease and create adhesion. Apply gel stain for darker colors or strip completely for lighter shades. Finish with a clear protective top coat for durability and a smooth finish.
How To Stain Over Already Stained Cabinets?
Clean and lightly sand cabinets to remove grease and create grip. Apply a darker gel stain over the old finish. For lighter stains, strip old finish completely, sand to bare wood, then stain and seal. Always finish with a clear protective topcoat for durability.
Conclusion
Restaining kitchen cabinets can refresh your entire kitchen look. Prepare surfaces well by cleaning and sanding for best results. Choose the right stain color carefully to match your style. Apply stain evenly and seal it for lasting protection. Take your time and follow each step with care.
This simple update can make your kitchen feel brand new. Enjoy the satisfaction of a DIY project well done.

Yes, working as , Food Blogger and Product Reviewer for last 6 years. Here you will get amazing deals for Smart kitchen products. I am your best source for the latest update in cooking trends. I provide insightful articles, reviews, and analysis on cutting-edge kitchen gadget. My mission is to empower readers with the knowledge they need to stay ahead in a rapidly evolving coking world. Join me as we explore the future of food technology and how it shapes our lives today and tomorrow.